Arduino is a Microcontroller Development plattform that consists of a Java-IDE and different microcontroller boards. All of the supported boards are equipped mit AVR-8-bit-MCUs. Basically the Arduino IDE provides an integrated editor, a serial terminal and buttons to compile and upload the firmware to the MCU.
In order to keep things very simple for beginners and none technicians, the nitty gritty details of microcontroller programming (ports, registers, interrupts) are buried in the Arduino core library. Therefor the user is faced with a simplistic API that is described here.
The user writes its own applications in the Arduino IDE in form of sketches. A sketch basically implements two functions setup() and loop() that are called from the main() function of the core library.
µracoli provides a third party core file package for Arduino, that supports the boards RadioFaro and Zigduino. This core contains the standard Arduino functions and the µracoli radio functions.
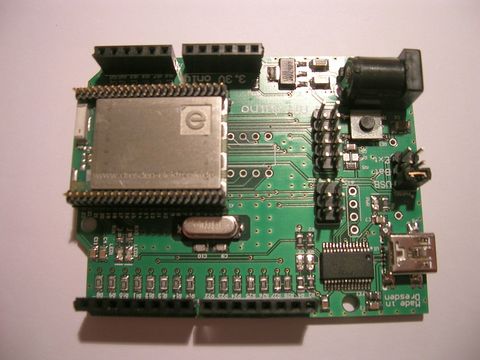
RadioFaro board
Both boards are equipped with a ATMega128RFA1, which has an integrated 2.4 GHz transceiver.
Currently (as of version 0021) the Arduino Toolchain is quite mature and does not support newer MCUs like the Atmega128RFA1. Therefore an upgrade of the Arduino Toolchain is needed.
In order to do this, install the modified Arduino package from http://download.savannah.gnu.org/releases/uracoli/Arduino/.
For more advanced users it is sufficient if you solely upgrade the toolchain of your current Arduino install
In the next step you need to download the package uracoli-arduino-[version].zip and unpack it in your private sketchbook folder.
After unpacking the package you'll find the following directory structure:
            sketchbook/
            |-- examples
            |   |-- HelloRadio
            |   |-- IoRadio
            |   `-- RadioUart
            |-- hardware
                `-- uracoli
                    |-- bootloaders
                    |   `-- radiofaro
                    `-- cores
                        `-- radiofaro
                            `-- boards
Now you are ready to go and launch the the Arduino IDE, connect one of the above boards and try the example sketches.
Beside the normal core functions (see http://arduino.cc/en/Reference/HomePage) there are some radio specific functions, described here Arduino Radio Functions.
 1.7.1
1.7.1